An update on the build status of the magnetometer. The board has been tested for correct voltages and other parameters. The three sensors have been wired with filter capacitors and connected for some software testing as well. They have not been placed in any permanent housing, and we are investigating best practices for that. We anticipate installation in the fall term once students are back on campus and we regroup. Some images:

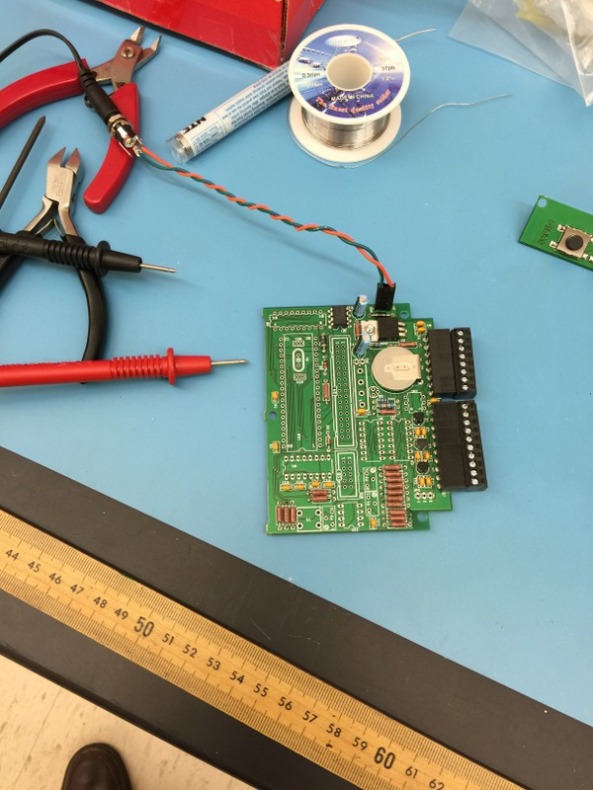
The completed main board

The display board

The boards and keyboard attached for testing

This is the first boot of the system! Success!

Final Tests then a New Case

First time operations with all three sensors

Initial testing of the logging software. A lot has to be done to configure this a little better, but it is good to see it in operation.